Faster charges. More revenue.
* Collect now supports Inventory Item Groups! Create your groups in the Web Dashboard to see and select them in the mobile app.
Speed up your transactions by letting Collect automatically calculate charge totals and auto-fill descriptions.
With Inventory Items, you can add a new line item to a charge just by tapping. The Description field will automatically display a count of items selected.
But you aren’t locked into the auto-generated descriptions. Just tap the text to edit the description at any time to add pertinent invoice information or anything else you would like.
Edit items any time on the Manage Inventory page, and expand or collapse lists to save space.
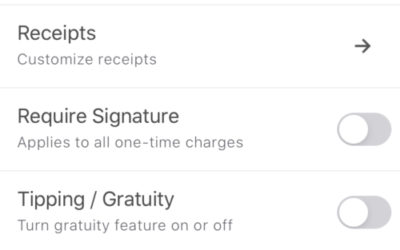
By default, Inventory Items will be uploaded to the cloud and kept in sync across all devices signed into Collect with your Stripe account. You can change this any time in your Settings.
For more on Inventory Items, including how to create them, see the Guide Page.
See it in action:
How to Use Inventory Items
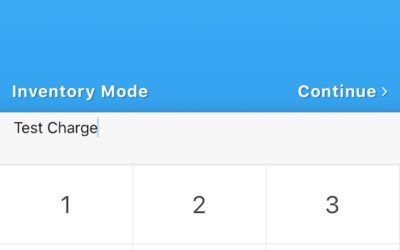
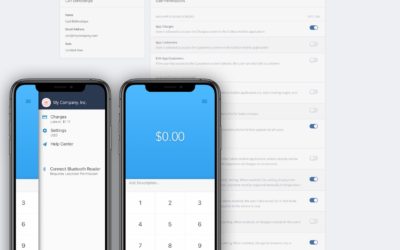
- From the Collect home screen, toggle Inventory Mode.
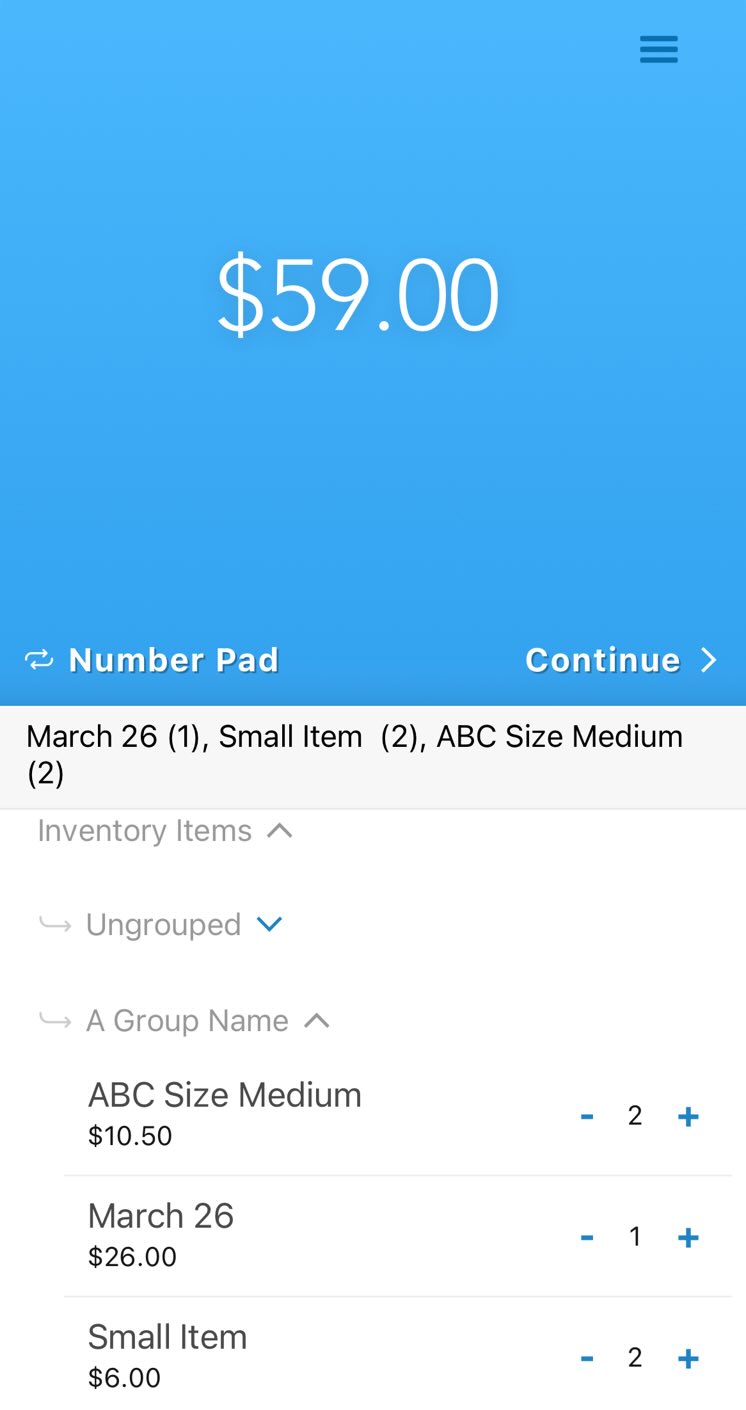
- If you have created at least one item, it will display in this list.
- If the Inventory Items list is collapsed, simply tap the ‘Inventory Items’ text to expand your item list.
- Tap the plus (‘+’) to add items to your charge, or minus (‘–’) to remove them. Note the automated descriptions and number of each item for later record-keeping.
- When you are finished adding items, tap ‘Continue’ to move to capture payment information and complete the charge.