Say what you want to say.
Standard receipts (the default) use Stripe’s simple, stock, pre-built receipts. This works great, but some users want a more personal touch and a little more information.
With Collect Custom Receipts, you take control of the content. Plus, they look great on any screen size.
Customization Options
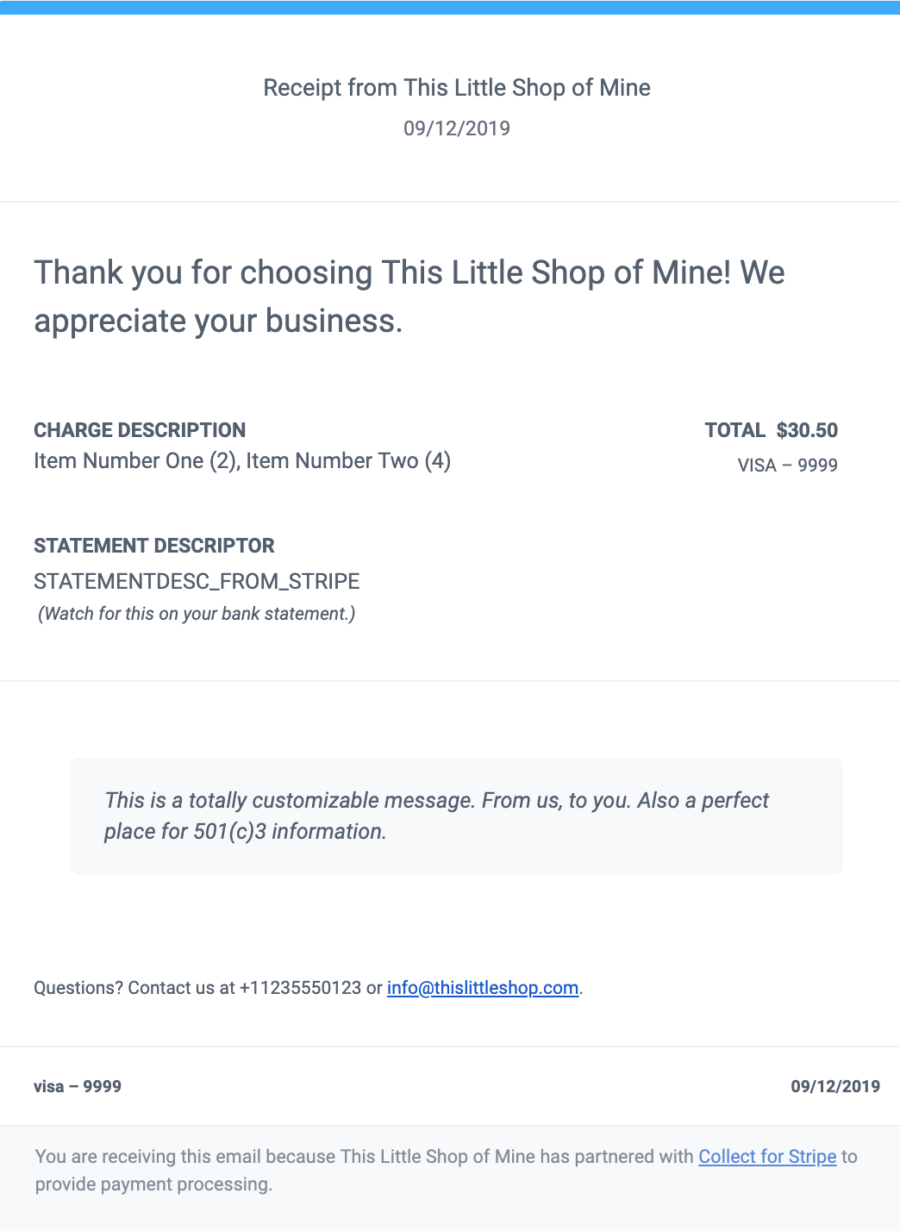
Add your own short title, perfect for a “Thank You” message. A longer text area (shown in gray toward the bottom of the email example) can relay contact information, return instructions, or anything you want!
Neither field is required, so you can use one or the other, both, or neither.
Oh, and the blue bar at the top? That will become whatever color you set in your Stripe Settings under Branding and then Accent Color.

Extra Data
Ever have an issue with customers or donors not recognizing your charges, or even disputing them? Unlike standard Stripe receipts, we always include the STATEMENT_DESCRIPTOR right inside the receipt email. No more confusion when your charge shows up on a bank statement.
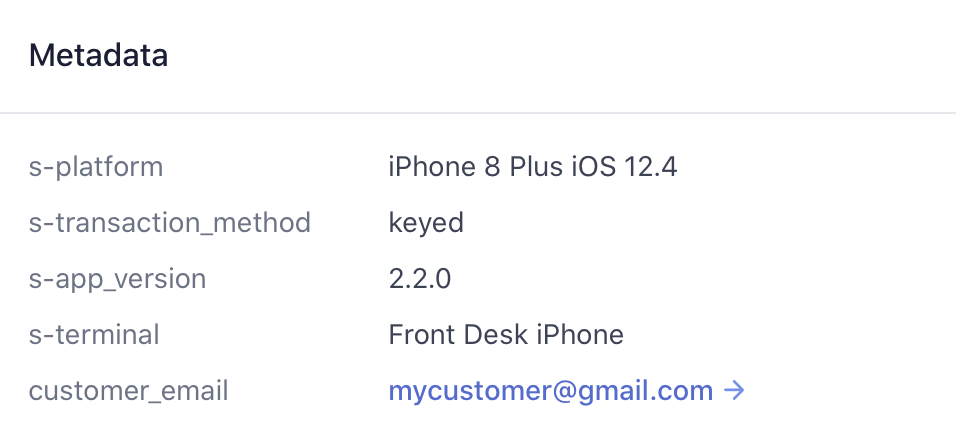
It is also worth noting that your Stripe Charges will still contain a customer_email value, so you can always look it up there later, just like with standard receipts.
Customer Replies
Have you ever responded to an automated email only to receive a “do not reply” message? That won’t happen with Custom Receipts.
Although emails come from Collect, we will use the support email address from your Stripe Settings as the reply-to address, so customers or donors can easily reach you with the click of a button.
Admin Copies
Not only will your customers receive all this information any time a charge is created, but you get a copy too.
Every single Custom Receipt email will have a companion duplicate that goes to your Stripe account owner email address. (If it becomes too many, we recommend setting a filter to auto-tag these in your favorite email client).
The copy will be an exact replica, but with “(Admin Copy)” and the customer or donor’s email address in the subject line. This way you can use your email as another method of longterm, reliable record-keeping.
Enabling Custom Receipts
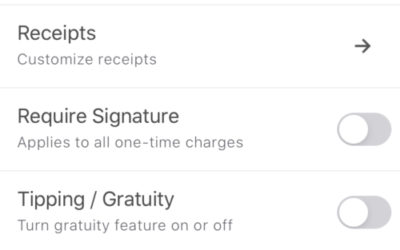
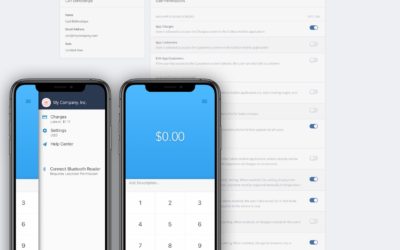
In the app, click on the Menu icon in the top corner, and from there click the “Settings” option. Simply open “Receipts” and toggle the switch to the On position.
Underneath this is the space to add the Custom Title and Custom Message. Just click Save and it’s all set!


