How do I register a reader in Stripe?
Getting Started | Readers

Internet Readers (or “Smart” Readers) like the WisePOS E are slightly different from smaller bluetooth readers (Stripe M2 or WisePad 3) in that they must be registered to a location via the Stripe dashboard.

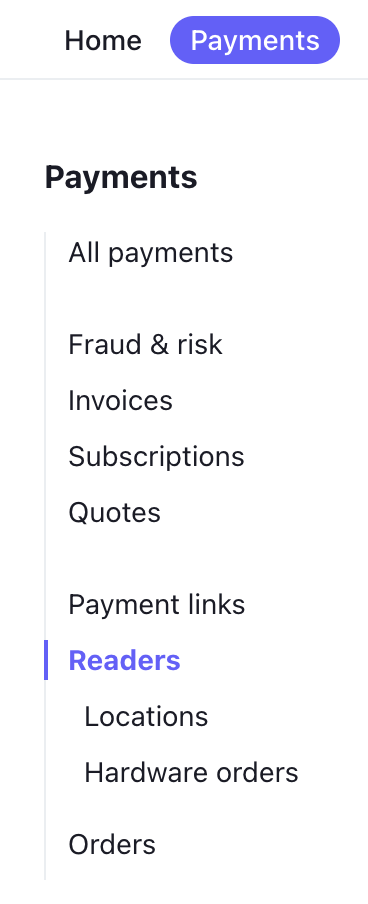
To do this, login to your Stripe Dashboard and click on Payments from the top menu then select “Readers” from the left-hand options.

If you do not have a location for your reader, you will need to add one. Go to Locations and create one, then continue to the next step.

After your location is added, click on it and scroll to “Registered Readers”. Click the “+ New” button.

Now we will register your internet reader (WisePOS E) by using the code the reader generates.
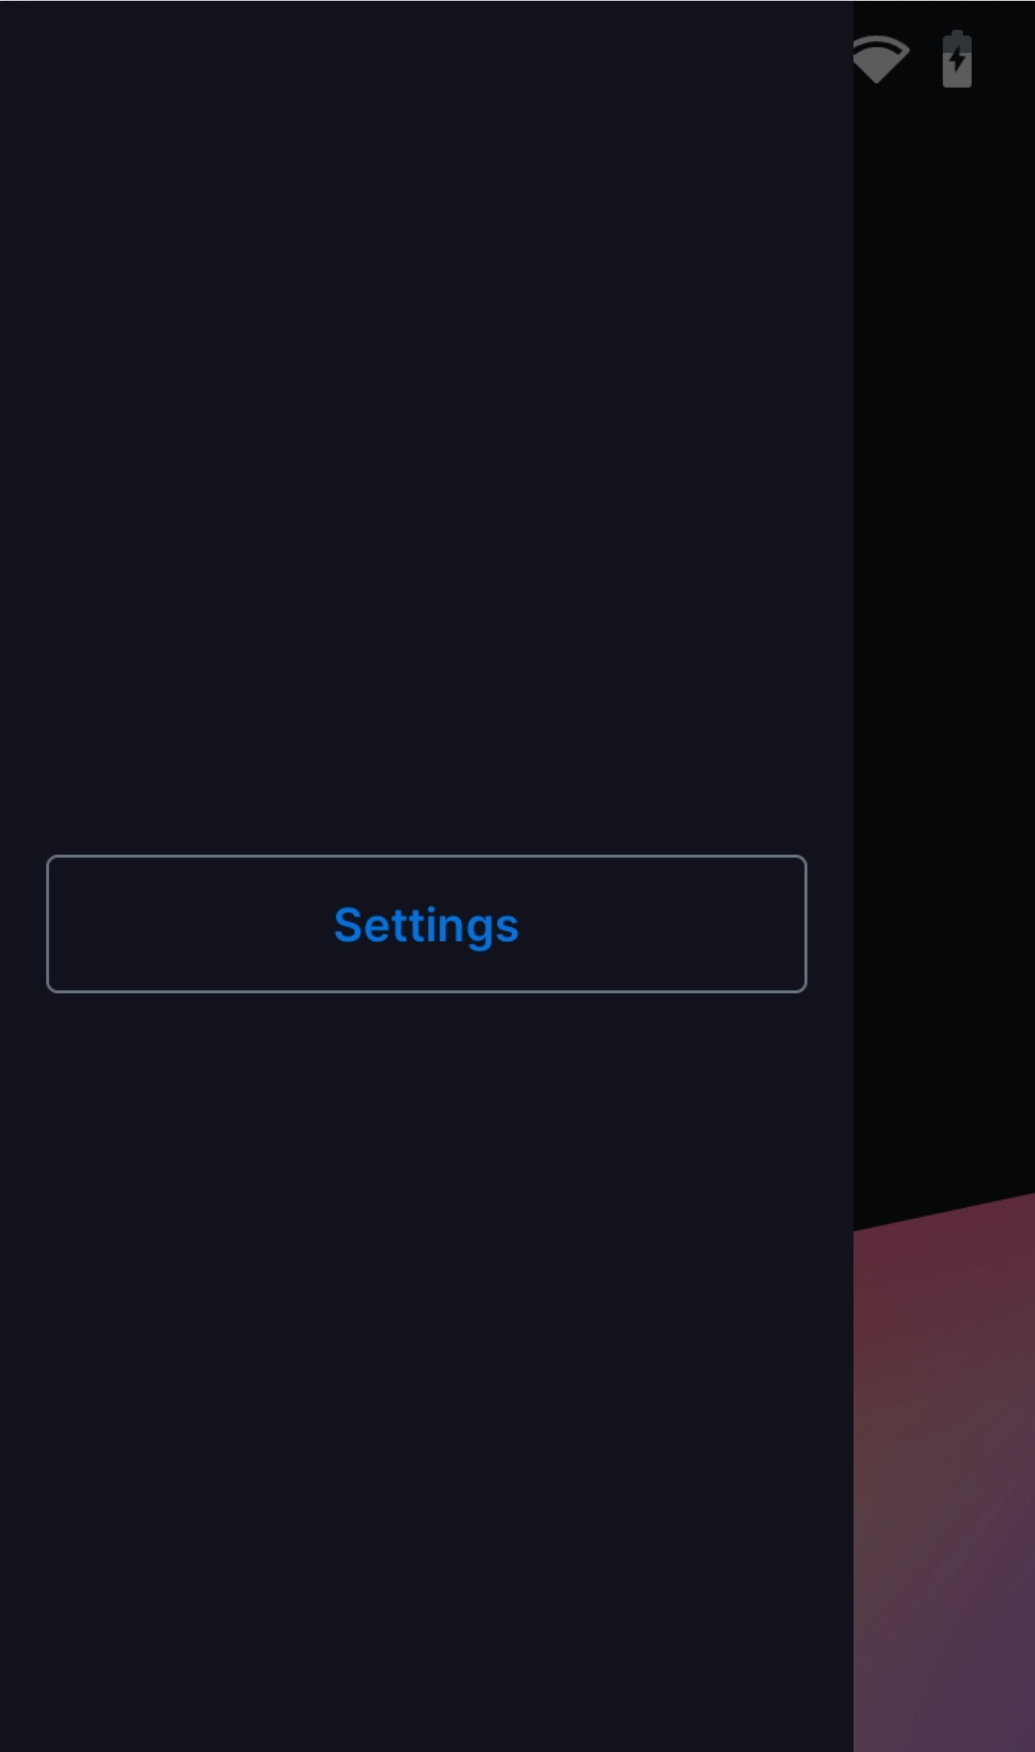
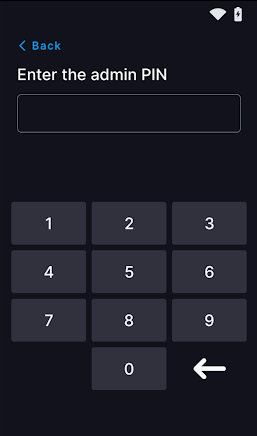
On the WisePOS E, Swipe out from the left edge of the reader screen to bring out a menu. Tap “Settings,” then enter the PIN number 0-7-1-3-9.

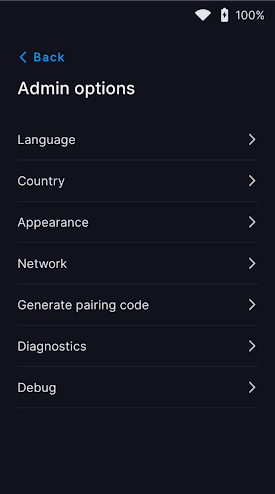
This will give you the full menu of admin options. Tap “Generate Pairing Code” to register this reader to your new location.

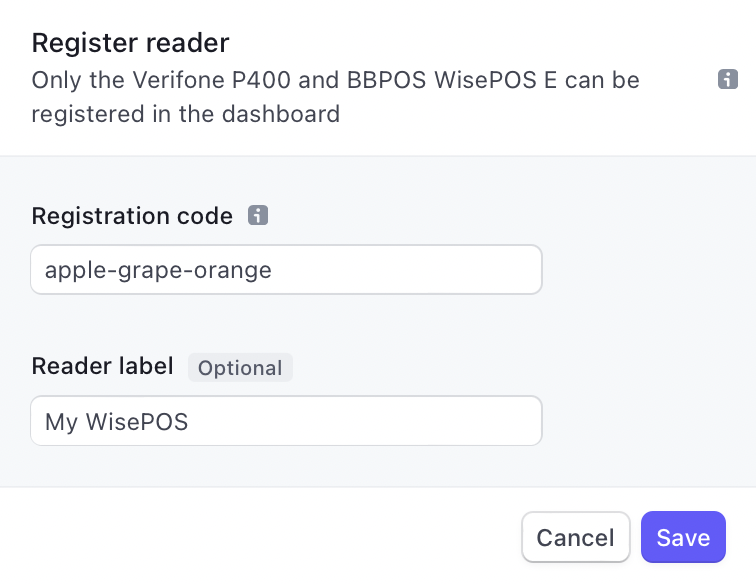
Return to your Stripe dashboard and enter the code displayed on the WisePOS E screen:

Registering Reader in Stripe Dashboard

When you return to the Collect for Stripe app, the newly registered reader should appear in your readers list after choosing to connect an Internet Reader.

Start Using Your Perfect Point of Sale

Combine simplicity & security using Stripe and Collect for Stripe. Bring all your transaction data to one single place.

Still Stumped?

For all Common Stripe Questions, please keep in mind additional guidance can only be provided by Stripe directly, not from Collect for Stripe. We are always happy to help answer questions and save you some time, but we do not have control of your Stripe account information, banking information, passwords or any other data pertaining directly to Stripe.

To reach Stripe Support via any of their methods of communication, visit the Stripe Support Page.

Other Common Stripe Questions

How do I finalize an Uncaptured charge in Stripe?

Collect's Authorize-Only feature allows you to hold a charge without finalizing. To finalize an Uncaptured charge in Stripe, you must 'capture' it manually at a later time. *If you used a card reader to authorize the charge, you will have 24 hours to capture the...

read more

How do I add a reader location in Stripe?

Login to your Stripe Dashboard and click on Payments from the top menu then select “Readers” from the left-hand options.  You’ll see Locations listed in the middle of the page. To add a location, click on the “+ New” button on the right. Then enter the location...

read more

How do I run payment reports in Stripe?

All transaction information is stored in your Stripe Dashboard (never by Collect), and is easily available for download by following these steps. 1). Login to your Stripe Dashboard: dashboard.stripe.com. 2). Click on Payments on the lefthand side. 3). Select "Export."...

read more

Do I have to set a location in Stripe for my card reader?

As of 2022, Stripe Terminal requires all bluetooth readers (Chipper, M2 and WisePad 3) to be registered to a location in order for them to run transactions. You can set your location for all of your readers directly from your Stripe Dashboard.  If you’re using a...

read more