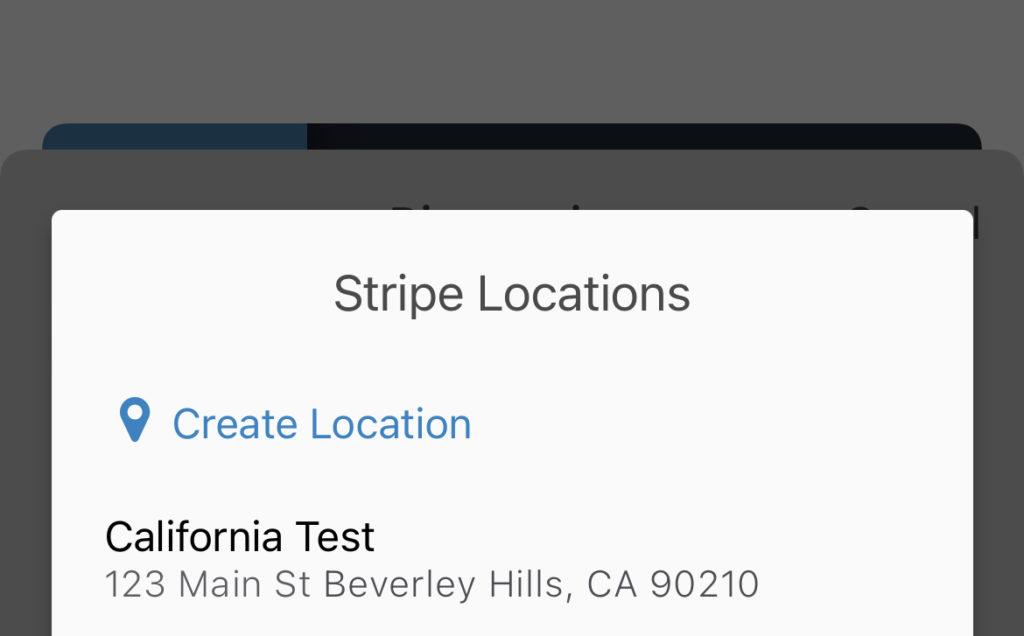
As of 2022, Stripe Terminal requires all bluetooth readers (Chipper, M2 and WisePad 3) to be registered to a location in order for them to run transactions. You can set your location for all of your readers directly from your Stripe Dashboard.
If you’re using a Stripe M2, Chipper, or Wisepad 3 credit card reader, you can also create your locations directly from the Collect application. To do this, hold your reader near your device to discover it, then tap “Select Location to Connect” and choose “Create Location” in the pop-up screen.

Please note, it is not necessary to create a new location if you move physically from one place to another within the same reasonable area (e.g. the same city). Readers used within the same general geographic area may share one Location.
Here’s how to set your Locations in your Stripe Dashboard:
1). Login to your Stripe Dashboard: dashboard.stripe.com.
2). Click on the “More” down arrow in the top menu.
3). Go to “Terminal” and click the + button at the side of it. *If Terminal is already enabled, simply click on “Terminal” to get to the Location page.
4). You’ll see Locations listed in the middle of the page. To add a location click the + New button on the right.

You may need to use the refresh button on the Locations screen once you’re finished adding your location in order for this new info to sync properly. You should be all set after that.
